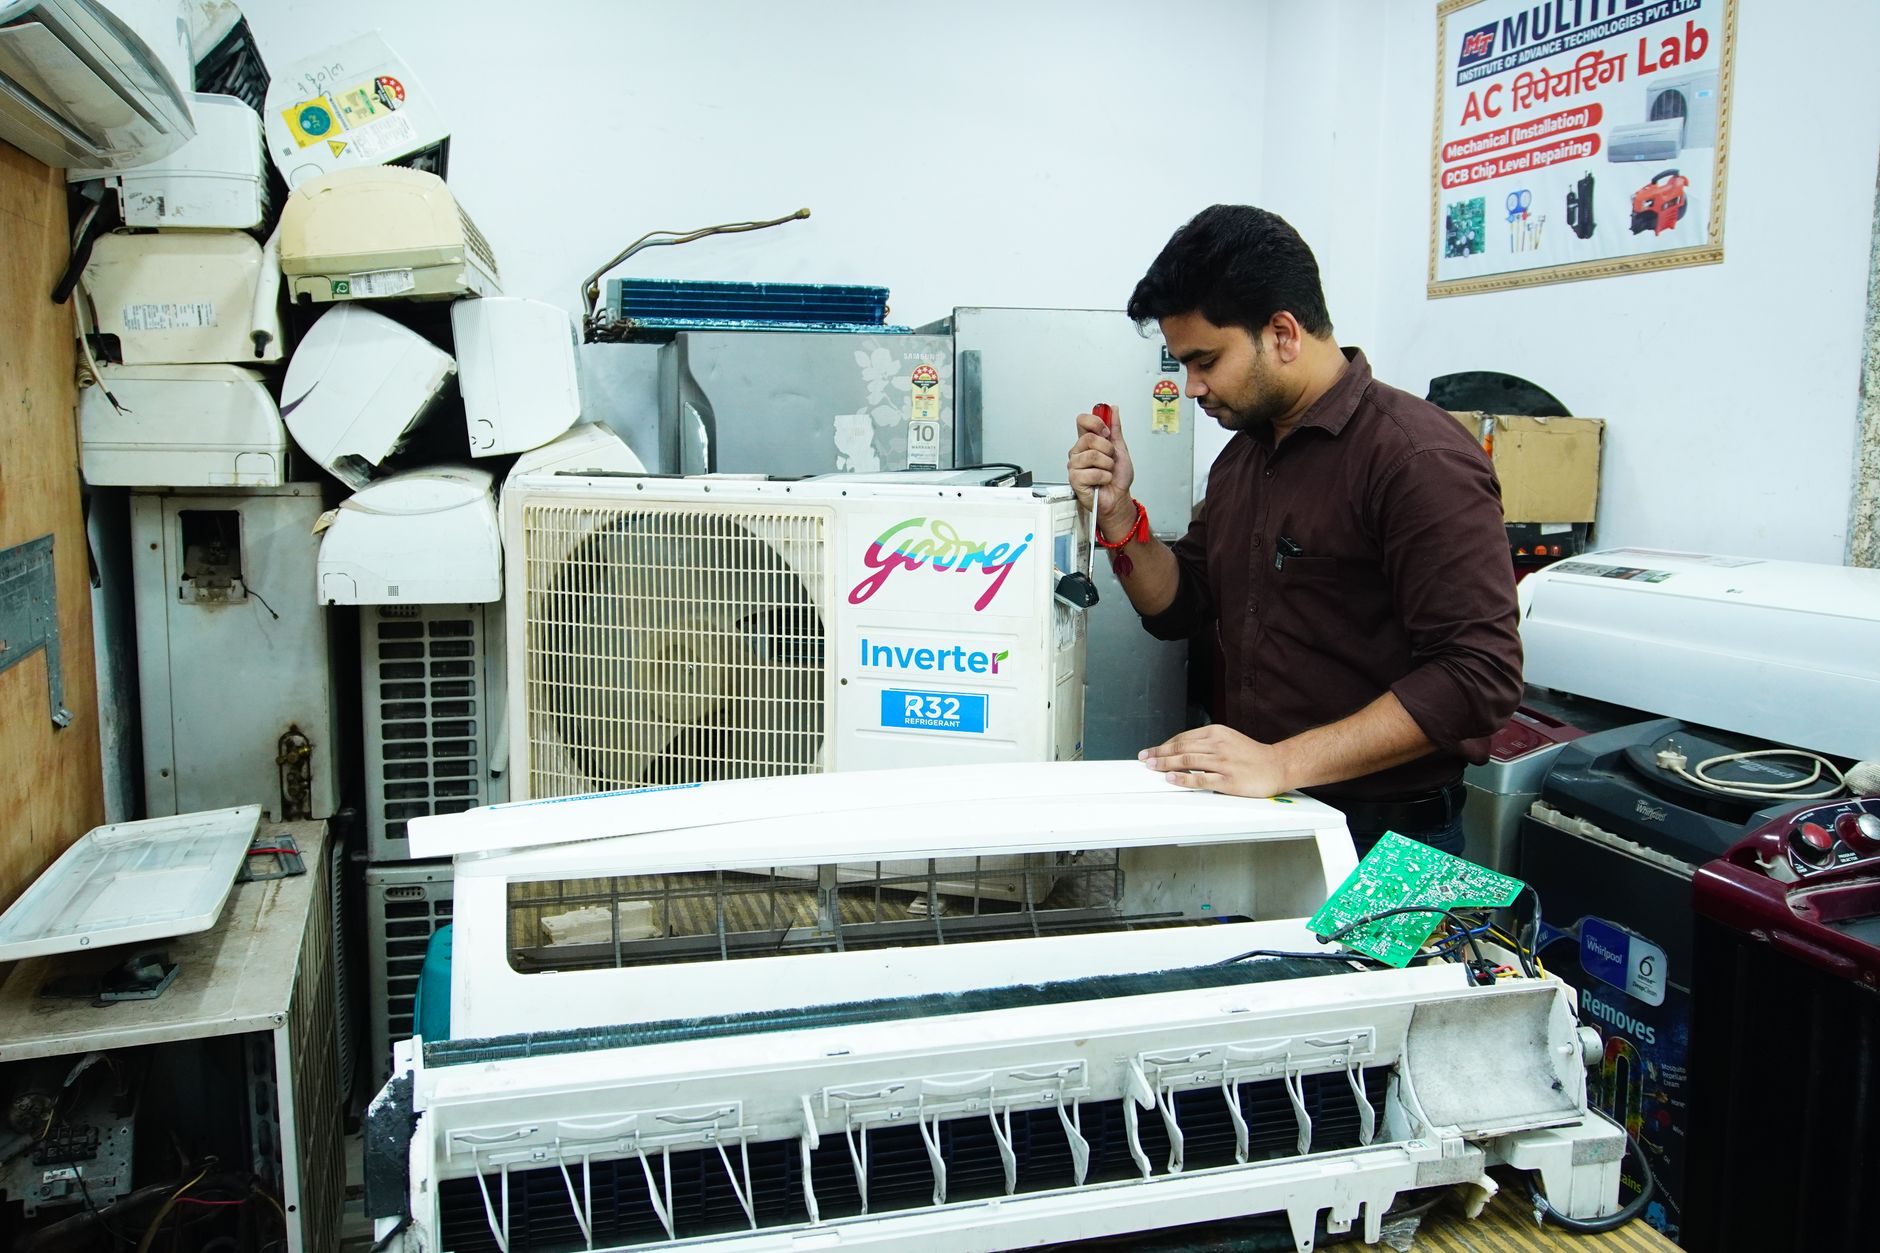

A quality control checklist for air conditioner repairs isn’t just paperwork—it’s the difference between a one-time job and a repeat customer. In 2026, repair shops using structured post-repair checks reduce callbacks by up to 30%, cutting labor waste and boosting margins. This guide covers the essential checks, how to integrate them into your workflow, and what data to record to protect your business and reputation.
A Quality Control Checklist for Air Conditioner Repairs in 2026
Every air conditioner repair job that leaves your shop should work flawlessly—not just on the day of service, but for months afterward. Yet, without a standardized quality control process, even skilled technicians can overlook small details that lead to callbacks, frustrated customers, and lost revenue.
In 2026, the most profitable repair shops aren’t just the fastest or cheapest—they’re the ones that don’t see the same job twice. A well-designed quality control checklist ensures consistency, reduces warranty claims, and builds trust with customers. More importantly, it turns quality assurance from an afterthought into a seamless part of your workflow.
This guide will walk you through the post-repair checks that prevent comebacks, how to embed them into your daily operations, and what data to record to protect your business.
Key Takeaways
- A quality control checklist reduces callbacks by 25-30% when consistently applied.
- The most common causes of AC repair failures in 2026 are refrigerant leaks, electrical faults, and improper calibration—all preventable with post-repair checks.
- Recording test results, part numbers, and technician notes against each job protects your shop from disputes and improves future diagnostics.
- Digital checklists integrated with your POS and repair management software save time and eliminate paperwork errors.
- Shops using structured quality control report higher customer retention and lower warranty claim rates.
What Is Air Conditioner Repair Quality Control?
Air conditioner repair quality control is the final verification step before a unit leaves your shop. It’s not just about testing whether the system turns on—it’s about confirming that every component functions correctly under real-world conditions, that no safety hazards remain, and that the customer won’t call back in a week.
In 2026, the average AC repair job costs customers between $350 and $1,200, depending on the issue and unit type. A callback for the same problem not only erodes profit but damages your reputation. Quality control isn’t just good practice—it’s a competitive advantage.
Quick Answer: What Should an Air Conditioner Repair Quality Control Checklist Include?
An effective air conditioner repair quality control checklist covers cooling performance, electrical safety, refrigerant levels, airflow, noise, and calibration. It should verify that the system meets manufacturer specifications, passes safety tests, and operates efficiently. Record test results, part replacements, and technician notes to track job quality and protect against disputes.
The Essential Air Conditioner Repair Quality Control Checklist
This checklist is designed for repair shops, not consumers. It assumes your technicians already know how to diagnose and fix AC systems. The focus here is on verification—ensuring the repair holds and the customer leaves satisfied.
1. Pre-Test Inspection
Before powering up the unit, conduct a visual and mechanical inspection:
- Refrigerant lines: Check for kinks, corrosion, or improper insulation. In 2026, R-410A is still common, but newer systems may use R-32 or R-454B—ensure the correct refrigerant was used.
- Electrical connections: Look for loose wires, burnt terminals, or improperly secured components. A single loose connection can cause intermittent failures.
- Filters and coils: Dirty filters or coils reduce efficiency and can lead to premature compressor failure. Verify they were cleaned or replaced.
- Drain lines: Ensure condensate drains are clear and properly routed. A clogged drain can cause water damage and mold growth.
- Mounting and vibration: Check that the unit is securely mounted and that no excessive vibration occurs during operation.
Pro Tip: Use a torque wrench for electrical connections. Over-tightening can strip threads, while under-tightening leads to resistance and heat buildup.
2. Performance Testing
Once the unit is powered on, test its performance under load:
- Cooling output: Measure the temperature drop across the evaporator coil. A properly functioning system should achieve a 15-20°F temperature differential between return and supply air.
- Refrigerant charge: Use a digital manifold gauge to verify the refrigerant level matches the manufacturer’s specifications. Overcharging or undercharging reduces efficiency and can damage the compressor.
- Airflow: Check that airflow is consistent across all vents. Low airflow can indicate a failing blower motor, clogged ducts, or a dirty filter.
- Thermostat calibration: Ensure the thermostat accurately reflects the room temperature and that the system cycles on and off as expected.
- Noise levels: Listen for unusual noises like grinding, squealing, or rattling. These can indicate bearing wear, loose components, or debris in the system.
Data Point: In 2026, 40% of AC repair callbacks are due to improper refrigerant charging. A digital manifold gauge reduces human error and ensures accuracy.
3. Electrical and Safety Checks
Electrical issues are a leading cause of AC failures and safety hazards. Verify the following:
- Voltage and amperage: Use a multimeter to confirm the unit is receiving the correct voltage and that the compressor and fan motors are drawing the expected amperage.
- Capacitor testing: Test start and run capacitors for proper capacitance. A failing capacitor can cause the compressor to struggle or fail to start.
- Grounding: Ensure the unit is properly grounded to prevent electrical shocks and equipment damage.
- Safety controls: Test high-pressure and low-pressure switches, as well as the thermal overload protector. These components prevent damage to the compressor and other critical parts.
- GFCI protection: If the unit is installed in a damp or outdoor location, verify that GFCI protection is in place and functioning.
Common Mistake: Skipping capacitor testing. A weak capacitor can cause the compressor to overheat and fail within weeks of the repair.
4. System Calibration and Efficiency
Modern AC systems are designed for efficiency. Verify that the system is calibrated to operate at peak performance:
- SEER rating: Ensure the system meets its advertised Seasonal Energy Efficiency Ratio (SEER). In 2026, the minimum SEER rating for new systems is 15 SEER in most U.S. regions, with higher efficiency models reaching 20+ SEER.
- Fan speed settings: Check that the blower motor is set to the correct speed for the system’s tonnage and ductwork.
- Zoning and dampers: If the system includes zoning, verify that dampers open and close as expected and that airflow is balanced.
- Smart thermostat compatibility: If the customer uses a smart thermostat, confirm that the system communicates properly and that all features (e.g., scheduling, remote access) work as intended.
Pro Tip: Use a clamp-on ammeter to measure blower motor amperage. If the motor is drawing more current than expected, it may be struggling due to a dirty filter or restricted airflow.
5. Final Documentation and Customer Handoff
The quality control process isn’t complete until the job is documented and the customer is informed. Record the following:
- Test results: Note temperature differentials, refrigerant pressures, voltage readings, and any other measurements taken during testing.
- Part replacements: List all parts replaced, including manufacturer, model number, and batch number. This information is critical for warranty claims and future diagnostics.
- Technician notes: Document any observations, such as unusual wear, potential future issues, or recommendations for maintenance.
- Customer education: Provide the customer with a summary of the work performed, any maintenance tips, and what to expect from their system.
Why It Matters: Detailed job documentation is what you reach for when a customer questions the bill six weeks later.
How to Integrate Quality Control into Your Workflow
A quality control checklist is only effective if it’s used consistently. Here’s how to make it part of your daily operations without adding unnecessary paperwork:
1. Use Digital Checklists
Paper checklists are prone to errors, loss, and inconsistency. Instead, use a digital checklist integrated with your repair management software. The Quick Repairs platform, for example, allows you to create custom checklists that technicians complete on a tablet or smartphone. Results are automatically saved to the job ticket, eliminating manual data entry.
Benefits of Digital Checklists:
- Real-time updates: Technicians can complete checklists on-site, and managers can review results instantly.
- Automated reminders: Set up alerts for incomplete checklists or missing documentation.
- Data analytics: Track trends over time, such as common failures or technician performance.
2. Assign Responsibility
Designate a quality control lead in your shop—someone responsible for reviewing checklists and ensuring they’re completed accurately. This person doesn’t need to be a technician; they can be a manager or senior staff member who understands the importance of quality control.
Pro Tip: Rotate the quality control lead role among senior technicians to keep everyone engaged and accountable.
3. Tie Quality Control to Incentives
Motivate your team to prioritize quality control by tying it to performance bonuses or incentives. For example, offer a bonus to technicians with the fewest callbacks or the highest completion rates for quality control checklists.
Data Point: Shops that tie quality control to incentives see a 15-20% increase in checklist compliance.
4. Automate Documentation
Manually recording test results, part numbers, and technician notes is time-consuming and error-prone. Use software that automates documentation by pulling data directly from the checklist into the job ticket. The Quick Repairs platform, for instance, allows you to track parts against each job and generate detailed reports for customers and internal records.
What to Record Against Each Job
Recording the right data protects your shop from disputes, improves future diagnostics, and enhances customer trust. Here’s what to document for every air conditioner repair job:
| Category | Details to Record |
|---|---|
| Customer Information | Name, contact details, address, and unit location (e.g., rooftop, basement). |
| Unit Information | Manufacturer, model number, serial number, age of unit, and warranty status. |
| Repair Details | Description of the problem, diagnosis, and work performed. |
| Part Replacements | Part name, manufacturer, model number, batch number, and cost. |
| Test Results | Temperature differential, refrigerant pressure, voltage, amperage, and airflow. |
| Technician Notes | Observations, potential future issues, and maintenance recommendations. |
| Customer Communication | Summary of work performed, maintenance tips, and any follow-up actions required. |
Why It Matters: Detailed records allow you to defend against warranty claims, identify recurring issues, and improve technician training.
Common Mistakes to Avoid
Even with a quality control checklist, mistakes can happen. Here are the most common pitfalls and how to avoid them:
1. Skipping the Pre-Test Inspection
Rushing straight to performance testing can lead to missed issues, such as refrigerant leaks or loose electrical connections. Always start with a visual and mechanical inspection.
2. Overlooking Small Details
Small details, like a loose screw or a slightly kinked refrigerant line, can cause big problems down the road. Train your technicians to treat every job as if it’s their own system.
3. Not Testing Under Load
Testing the system at idle doesn’t reveal how it will perform under real-world conditions. Always test the unit under load to ensure it meets performance expectations.
4. Failing to Document Part Numbers
Recording part numbers is critical for warranty claims and future diagnostics. If a part fails, you’ll need to know exactly what was installed to process a warranty claim or order a replacement.
5. Ignoring Customer Education
Many callbacks occur because customers don’t understand how to maintain their system. Take the time to explain the work performed and provide maintenance tips.
How The Quick Repairs Software Streamlines Quality Control
Managing quality control manually is time-consuming and prone to errors. The Quick Repairs software is designed to automate and streamline the process, so you can focus on growing your business.
Key Features for Quality Control:
- Repair Ticket Management: Create custom checklists, assign tasks to technicians, and track progress in real time.
- Inventory Management: Track part replacements, including manufacturer details and batch numbers, to simplify warranty claims.
- Billing and Invoices: Generate detailed invoices that include test results, part replacements, and technician notes.
- Advanced Reporting: Analyze trends, such as common failures or technician performance, to improve your processes.
- Customer Relationship Management (CRM): Store customer information, job history, and communication logs to provide personalized service.
Example Workflow:
- A technician completes a repair and opens the job ticket in The Quick Repairs app.
- They fill out the digital quality control checklist, recording test results and part replacements.
- The system automatically saves the data to the job ticket and generates a detailed report for the customer.
- The manager reviews the checklist and approves the job for completion.
- The customer receives an email with the job summary, including maintenance tips and warranty information.
By integrating quality control into your POS and repair management software, you can reduce errors, save time, and improve customer satisfaction.
Final Thoughts: Quality Control as a Competitive Advantage
In 2026, the repair shops that thrive aren’t just the ones with the most skilled technicians—they’re the ones that deliver consistent, high-quality results. A structured quality control process reduces callbacks, improves customer satisfaction, and protects your bottom line.
By integrating a quality control checklist into your workflow and using The Quick Repairs software to automate documentation, you can streamline your operations, reduce errors, and grow your business.
Ready to take your repair shop to the next level? Talk to an expert about how The Quick Repairs POS and management software can help you implement a seamless quality control process.
References:
- U.S. Department of Energy — SEER efficiency standards: https://www.energy.gov
- Air Conditioning Contractors of America (ACCA) — quality installation standards: https://www.acca.org
- HVAC School — diagnostics and callback prevention: https://www.hvacschool.org
- The Quick Repairs Blog. (2026). How to Reduce Warranty Claims in Your Repair Shop. /blogs/reduce-warranty-claims