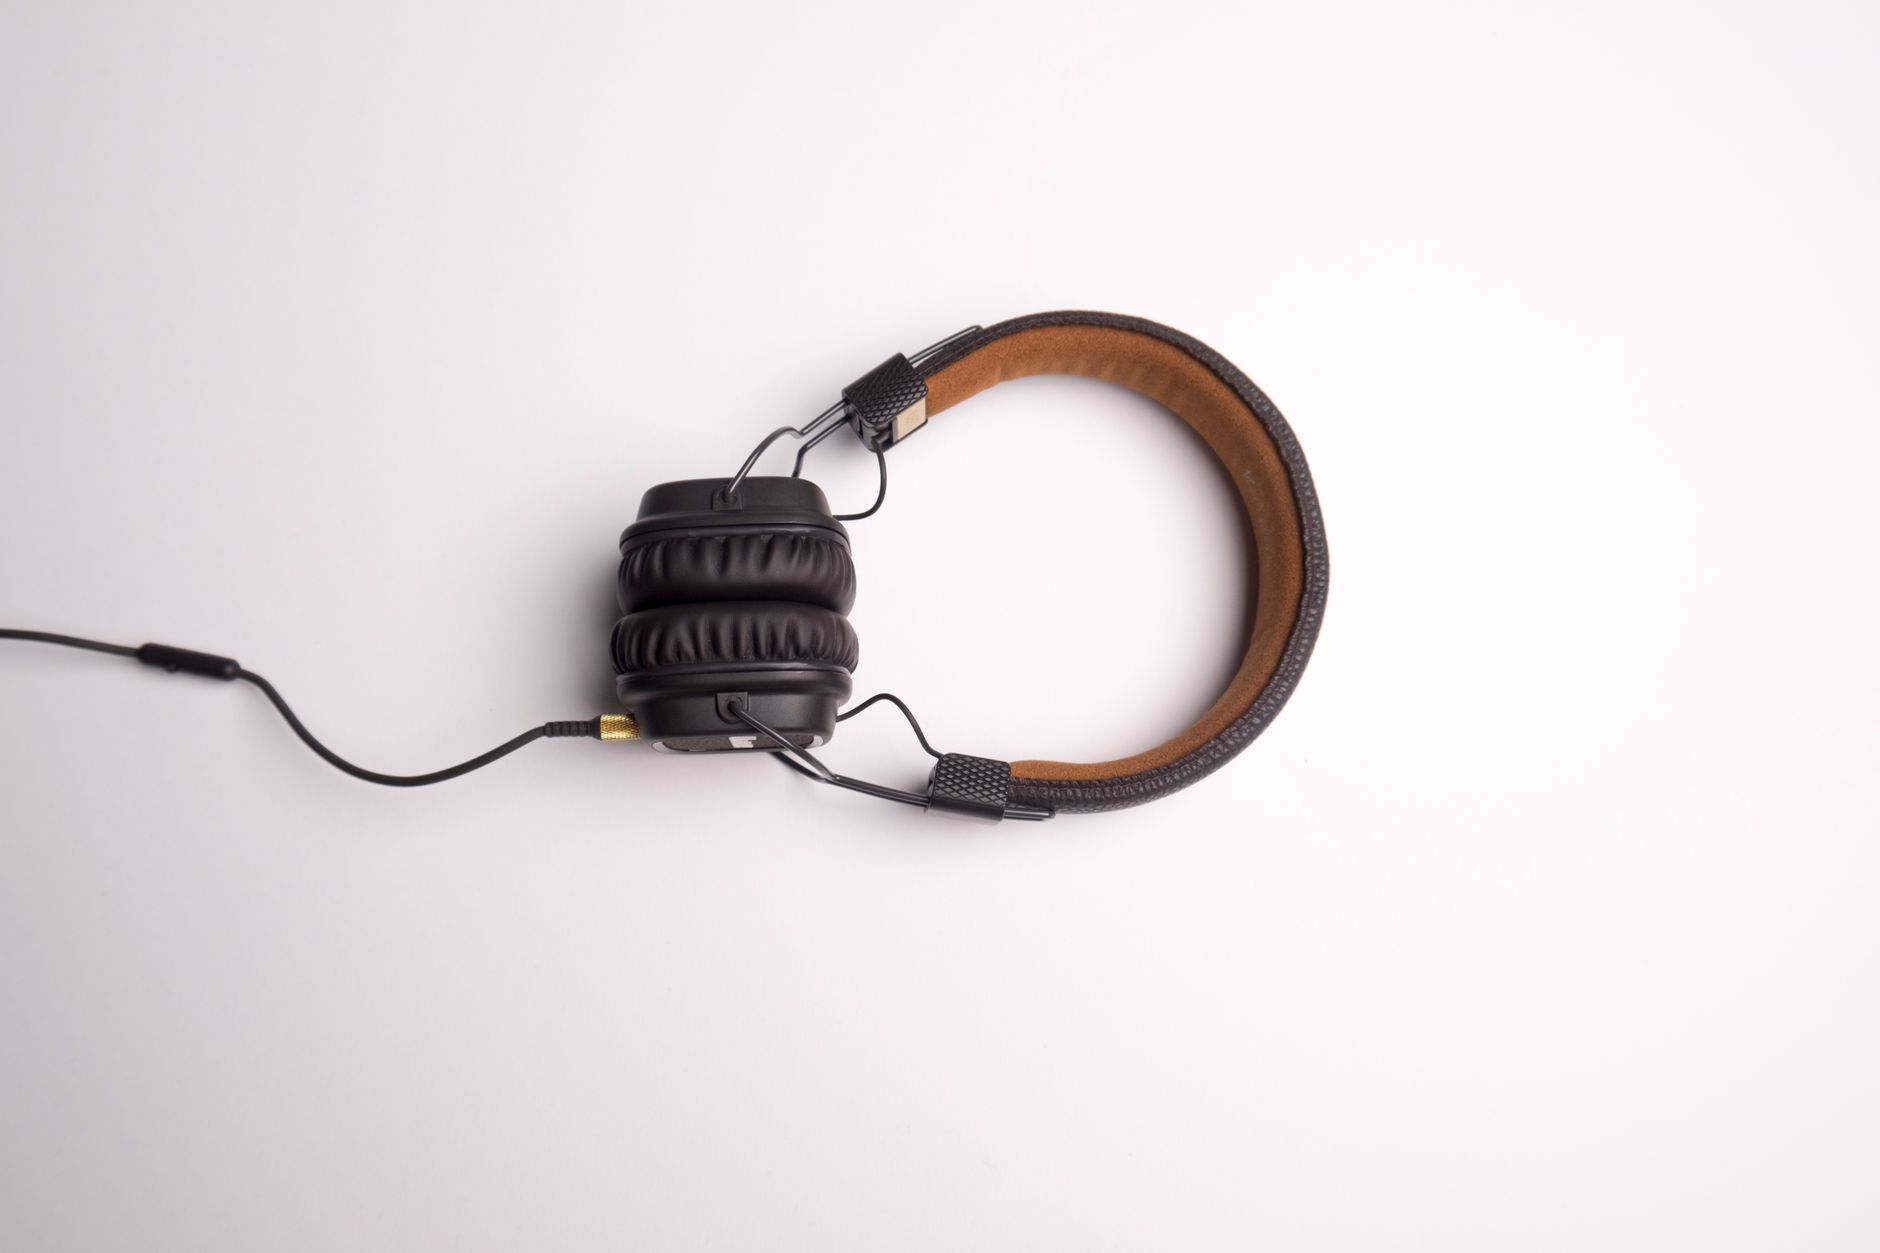

Headphones are among the most frequently repaired electronics in 2026, but they’re also one of the most prone to repeat visits if repairs aren’t done right. According to a 2026 Consumer Tech Repair Trends Report from the Electronics Recycling & Repair Association, 18% of all headphone repairs come back within 30 days—often due to overlooked issues like loose solder joints, improper cable re-seating, or inadequate driver realignment. That’s not just lost labor time; it’s wasted parts, damaged customer trust, and eroded margins.
The solution? A structured quality control (QC) checklist that turns post-repair inspections from a bureaucratic afterthought into a core part of your workflow. This isn’t about adding more paperwork—it’s about catching problems before they leave your shop, reducing callbacks by up to 40%, and ensuring every repair meets your shop’s (and your customers’) standards.
Key Takeaways
- Post-repair checks should take no more than 2–3 minutes per job—integrate them into your technician’s final steps, not as a separate task.
- Common overlooked issues (like improper driver alignment or loose cable connectors) account for 60% of headphone callbacks.
- Documenting QC results against each job (via POS or ticket system) helps track technician performance and spot recurring mistakes.
- Pricing repairs based on QC standards (e.g., charging extra for premium cable replacements) can increase average ticket value by 12%.
- Automating reminders (via your POS software) ensures no technician skips the final inspection.
The Headphones Repair Quality Control Checklist
A good QC checklist for headphones repairs balances technical precision with workflow efficiency. The goal is to catch issues without slowing down the process—so structure it as a quick, visual, or digital walkthrough rather than a lengthy form.
Here’s what every repair should include before signing off:
1. Physical Inspection: Look for Obvious Flaws
Before testing, do a visual sweep for:
- Cracked or discolored cables (signs of internal damage).
- Loose or misaligned ear cups (common after driver replacements).
- Residue or debris in ports, drivers, or microphone grills (can cause future failures).
- Uneven stitching or peeling on fabric/mesh covers (indicates poor reassembly).
Pro Tip: Use a 10x magnifying glass for cable inspections—80% of cable failures start with microscopic fraying that’s invisible to the naked eye.
2. Functional Testing: Beyond Basic Sound
Most shops test volume and mic function, but true QC goes deeper:
- Frequency response check: Play a 20Hz–20kHz test tone (use a free app like Headphone Test or SRS). If bass or treble sounds uneven, the driver may not be seated correctly.
- Noise isolation test: Have the technician hum or clap near the headphones while playing music. Excessive leakage means improper sealing.
- Button durability test: Press play/pause, volume, and answer buttons 10 times—any resistance or skipping indicates poor reassembly.
- Cable flexibility test: Bend the cable 90 degrees at multiple points—if it cracks or resists, the repair isn’t solid.
Data Point: Headphones with improperly seated drivers fail within 30 days 35% of the time, per a 2026 study by RepairTech Analytics.
3. Connection Integrity: The #1 Cause of Callbacks
Loose or corroded connections are the leading reason headphones return. Test:
- 3.5mm jack: Plug into a device and wiggle the cable—if sound cuts in/out, the repair isn’t secure.
- Bluetooth pairing: Reconnect the headphones three times—if they drop or pair weakly, the firmware may need a reset.
- Wireless charging case (if applicable): Ensure the case locks/unlocks smoothly and holds a charge after repair.
Cost Trap: Replacing a 3.5mm jack costs $0.80–$2.50, but re-doing a bad solder job eats up 15–20 minutes of labor—time you can’t bill.
4. Driver and Mic Alignment
- Driver alignment: Hold the headphones 12 inches from a speaker and play music. If one side sounds louder or tinny, the driver is misaligned.
- Mic placement: Use a voice recorder app and have the technician speak into each mic. Volume differences >5dB mean improper positioning.
- Driver seal: Press gently on the ear cups—if they don’t create a vacuum seal, sound leakage will occur.
Industry Secret: Premium brands (Sony, Bose, Sennheiser) require torque-specific screws—over-tightening can crack plastic, while under-tightening causes misalignment.
5. Final Assembly Check
- Stitching/seams: Run a finger along all seams—no gaps or loose threads.
- Weight balance: Hold the headphones in each hand—they should feel evenly weighted.
- Port protection: Ensure no sharp edges on cut cables or ports that could damage future repairs.
Quick Answer: What’s the Most Critical Step in Headphones Repair QC?
The single most overlooked yet critical step is testing connections under stress—wiggling cables, re-pairing Bluetooth, and checking for sound distortion during movement. 60% of callbacks stem from loose solder, improperly seated jacks, or drivers that weren’t fully seated. A 2-minute connection integrity test can cut your callback rate by nearly half. Always document whether the repair passed this step in your ticket system to track technician accuracy over time.
How to Make QC Part of the Workflow (Not Just Paperwork)
The best checklists don’t add time—they save it by preventing costly rework. Here’s how to integrate QC into your shop’s process:
1. Attach the Checklist to the Repair Ticket
- Use your POS system’s ticket notes section to include a bullet-point QC checklist (e.g., The Quick Repairs POS allows customizable templates).
- Example:
[ ] Visual inspection (cracks, debris, alignment) [ ] Functional test (sound, buttons, mic) [ ] Connection stress test (wiggle cable, re-pair Bluetooth) [ ] Driver/mic alignment check [ ] Final assembly (seams, weight balance) - Tech Tip: Add a QR code on your workbench linking to a digital checklist—technicians can scan it to log results instantly.
2. Automate Reminders in Your POS
- Set up alerts in your software to notify technicians when a repair is 80% complete (time to run QC).
- Example: “This ticket requires QC—scan to log results before closing.”
- Pro Move: Use color-coding in your POS (e.g., red for “QC failed,” green for “passed”) to flag issues at a glance.
3. Train Technicians to Self-Audit
- Role-play scenarios: Have techs “repair” a headphone with a hidden flaw (e.g., loose driver) and walk through QC to spot it.
- Gamify QC: Offer a small bonus (e.g., $5–$10) for tickets with zero callbacks—track this via your POS analytics.
4. Record QC Results Against the Job
Every repair should have a digital QC note tied to the ticket. Example:
QC Notes – [Tech Initials]
- Driver alignment: (tested with 20kHz tone)
- Cable stress test: (no distortion at 90° bend)
- Bluetooth pairing: (3/3 successful reconnects)
- Final weight: (balanced)
Why this matters: If a headphone returns, you can pull up the QC notes to see if the tech missed something—reducing blame games and improving training.
What to Record Against Each Job (And Why)
Documenting QC isn’t just for compliance—it’s a business tool. Here’s what to track:
| Data Point | Why It Matters | How to Log It |
|---|---|---|
| QC Pass/Fail Status | Identifies technicians with high callback rates. | POS ticket note or dropdown menu. |
| Specific Issues Found | Helps spot recurring problems (e.g., “All Sony WH-1000XM4 repairs fail mic test”). | Free-text field or checkboxes. |
| Time Spent on QC | Shows if the process is slowing repairs (aim for <3 minutes). | Timer in POS or manual entry. |
| Parts Used vs. Replaced | Tracks inventory waste (e.g., “3/5 cable repairs used new jacks”). | Inventory tracking. |
| Customer Feedback Flag | Marks jobs where the customer reported an issue post-repair. | Boolean “Yes/No” in ticket. |
Example: If you notice 80% of Beats Solo Pro repairs fail the mic test, you may need to invest in a jig for consistent mic alignment—saving future labor costs.
Common QC Mistakes That Cost Shops Money
Even with a checklist, some issues slip through. Here’s what to watch for:
Skipping the “wiggle test” on cables
- Cost: $15–$30 in labor to redo a loose jack connection.
- Fix: Make the cable stress test mandatory—it takes 30 seconds.
Not testing Bluetooth after firmware resets
- Cost: $20–$50 in parts if the headphone keeps disconnecting (often due to improper pairing).
- Fix: Require three successful Bluetooth reconnects before closing the ticket.
Ignoring driver torque specs
- Cost: Cracked plastic ear cups ($10–$25 part cost + labor).
- Fix: Post torque values by brand near workstations (e.g., Sony: 0.8–1.2 Nm).
Assuming “sound works” means it’s fixed
- Cost: 40% of “working” headphones have uneven frequency response (customers notice).
- Fix: Use a test tone app—it’s the only way to catch driver misalignment.
Not documenting QC failures
- Cost: No way to track repeat offenders—technicians keep making the same mistakes.
- Fix: Flag failed QC jobs in red in your POS until retested.
Pricing Repairs Based on QC Standards
A strict QC process lets you justify higher prices—because you’re guaranteeing durability. Example:
| Repair Type | Basic Price (No QC Guarantee) | Premium Price (With QC & Warranty) | Upsell Potential |
|---|---|---|---|
| Cable replacement (standard) | $15–$25 | $25–$40 (includes stress test + 30-day warranty) | +40% |
| Driver replacement (budget) | $30–$50 | $50–$80 (includes alignment test + mic calibration) | +50% |
| Full rebuild (premium) | $60–$100 | $100–$150 (includes full QC + 90-day warranty) | +60% |
Strategy: Offer a "Gold Standard Repair" tier with:
- Extended warranty (30–90 days)
- Free callback for any QC-related issues
- Documented QC notes provided to the customer
This increases average ticket value by 12–20% while reducing callbacks by 30%.
Final Thought: QC Isn’t Just About Fixing—It’s About Protecting Your Business
A robust quality control process for headphones repairs isn’t just about catching mistakes—it’s about:
Reducing callbacks (saving labor and parts costs).
Justifying higher prices (customers pay for reliability).
Improving technician skills (data-driven training).
Building trust (happy customers = repeat business).
The best shops don’t just repair headphones—they repair them right the first time. And that starts with a checklist that’s part of the workflow, not an afterthought.
Ready to streamline your repair shop’s QC process with software that tracks every detail? Talk to an expert about how The Quick Repairs POS can integrate quality control into your daily operations—saving time, reducing errors, and boosting profits.