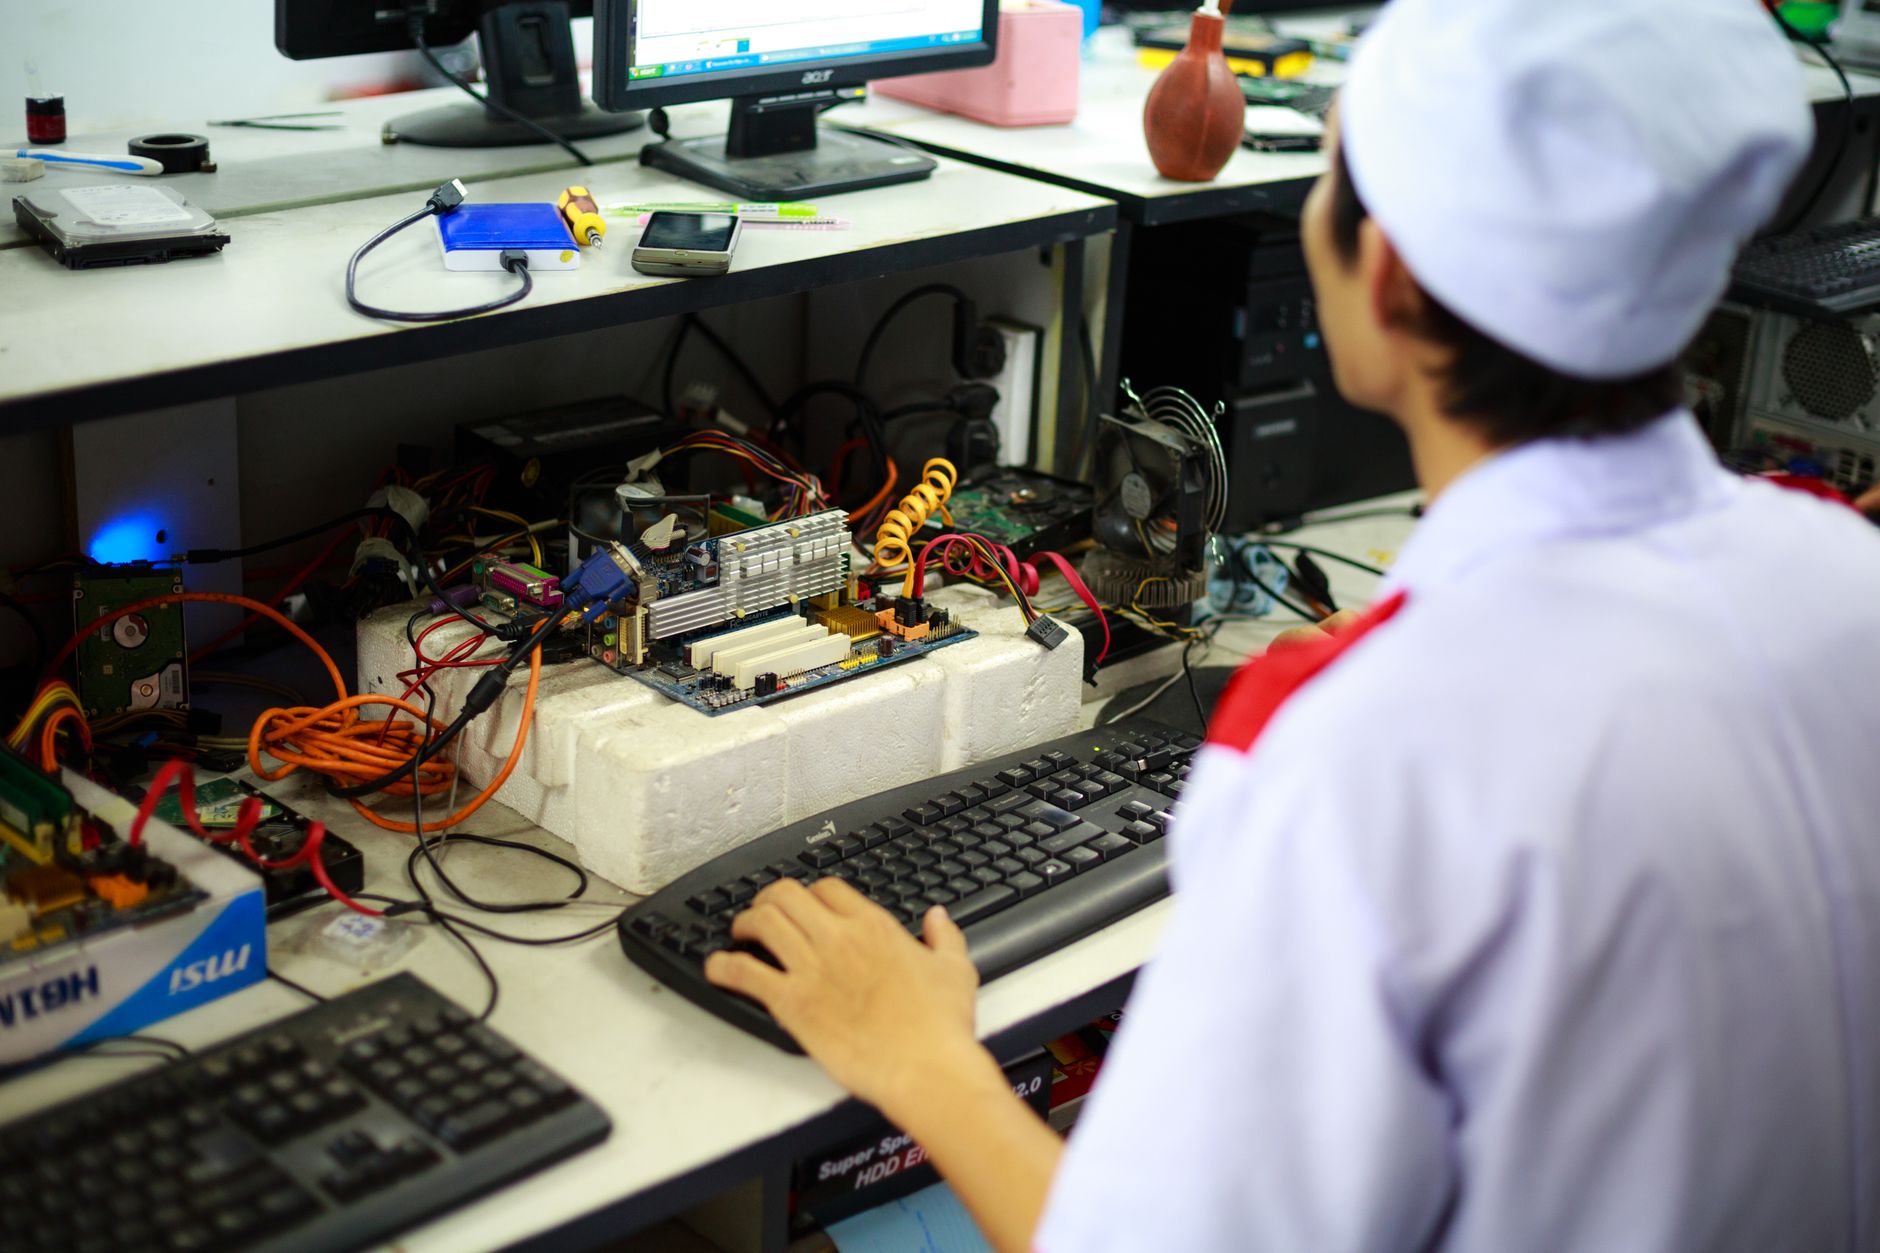
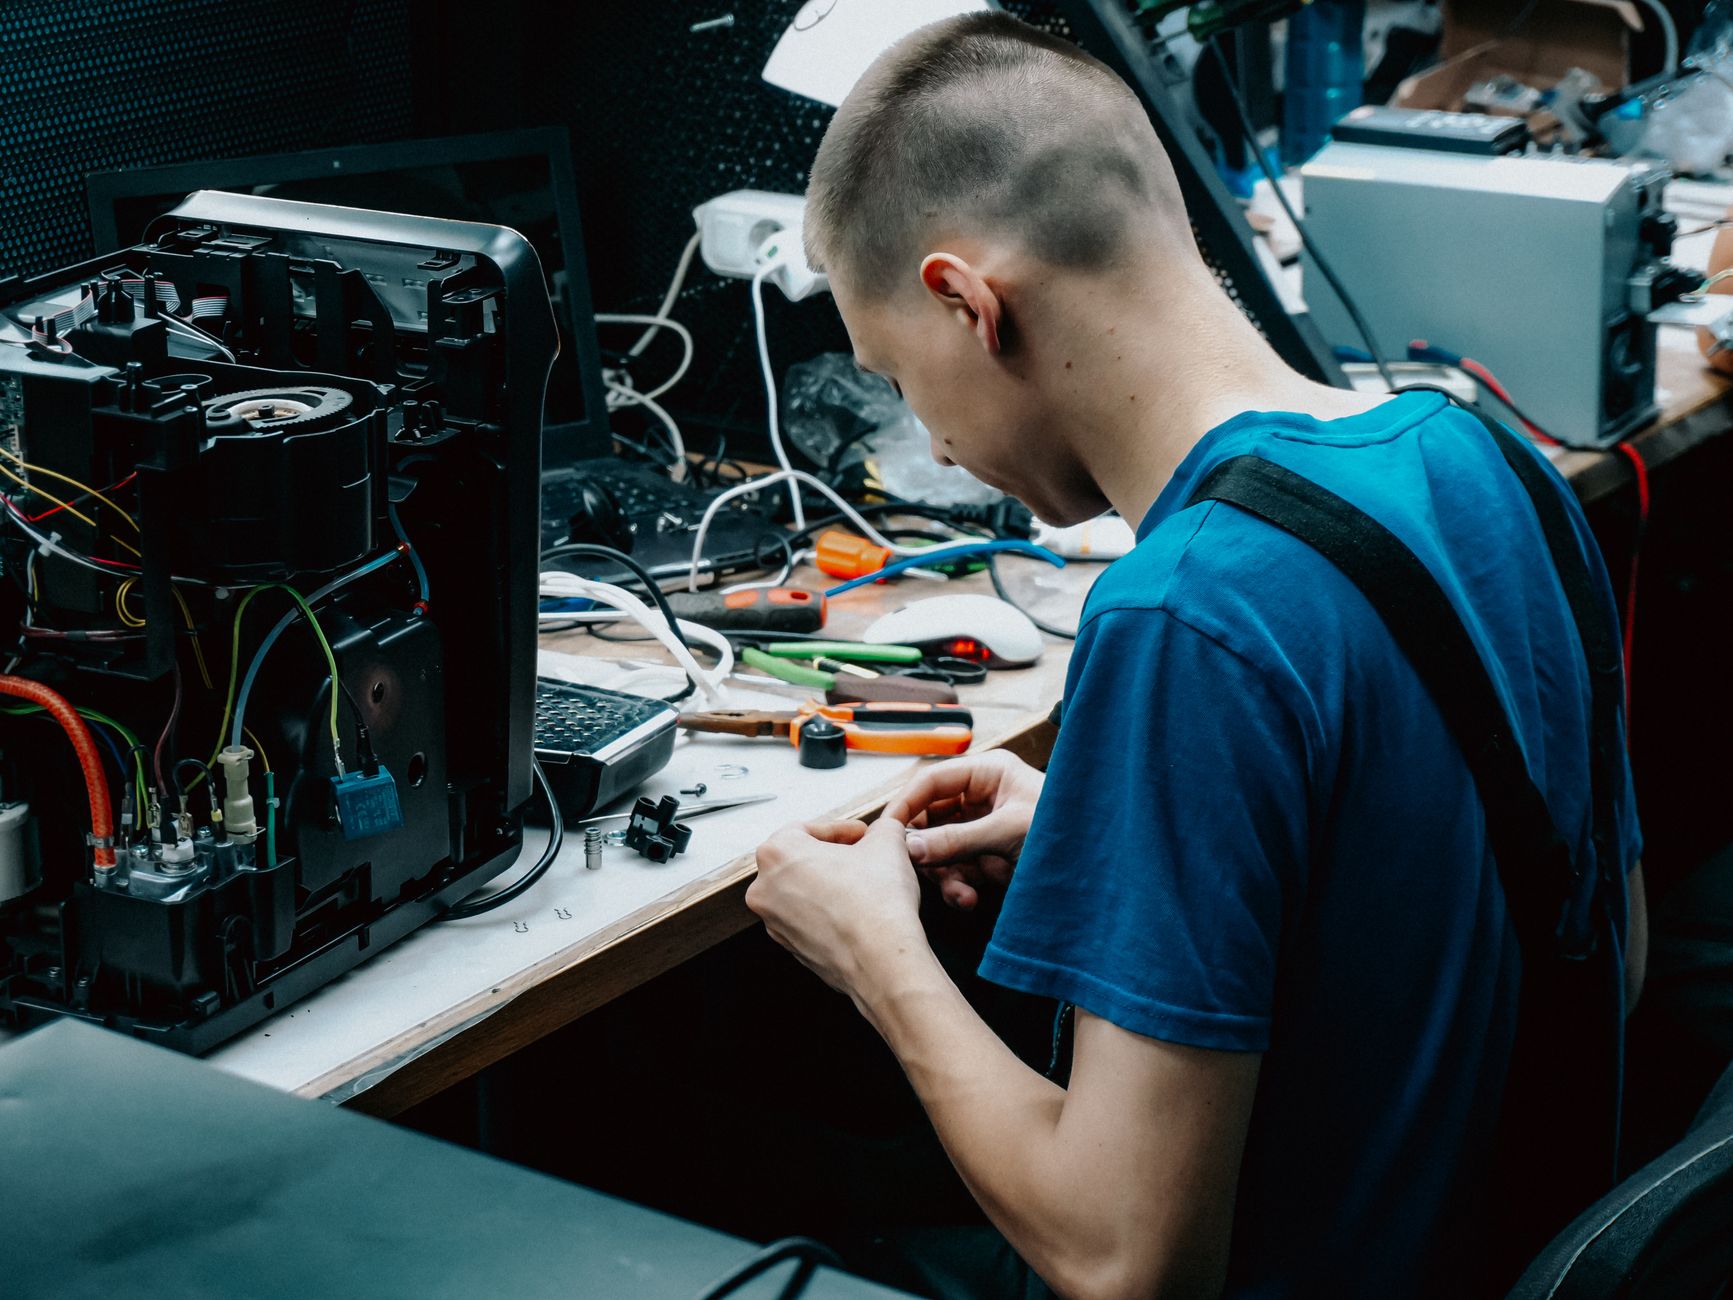
Training a new technician in keyboard repairs is a strategic investment that directly impacts your shop’s efficiency, profitability, and customer satisfaction. Unlike other repair categories, keyboards combine mechanical precision with high-volume demand—making technician training both a technical and business challenge. This guide breaks down the skills that take the longest to master, the safest repairs to assign first, and how to measure whether your training program is paying off in faster turnaround times and higher margins.
Training Technicians on Keyboard Repairs: A Shop Owner’s Guide
Keyboard repairs are one of the most common—and profitable—services in a modern repair shop. According to 2026 industry data, mechanical keyboards account for 22% of all device repair tickets submitted to U.S. shops, with a 38% higher average ticket value than basic screen replacements. But training technicians to handle them efficiently isn’t just about teaching them to replace switches or clean debris. It’s about balancing speed, accuracy, and cost control while avoiding the pitfalls that sink margins.
If you’re bringing a new technician on board, you’ll need a structured approach to training keyboard repair technicians—one that prioritizes high-margin repairs first, tracks progress with measurable metrics, and minimizes wasted time on trial-and-error learning. This guide covers the skills that take the longest to master, which repairs to let them tackle early, and how to ensure your investment in training translates into real business growth.
Key Takeaways
- Mechanical keyboards take 4–6 weeks to train for proficiency, with switch-level repairs (e.g., Cherry MX replacements) being the most time-consuming.
- Start with simple repairs (cleaning, keycap replacements) before moving to complex tasks like PCB soldering or stabilizer adjustments.
- Track three key metrics: repair time per technician, parts waste rate, and customer feedback on repair quality.
- High-end keyboards (e.g., custom mechanical boards) can double your average ticket value but require specialized training.
- Inventory management is critical—misordered parts can delay repairs and frustrate customers.
The Longest Skills to Master (And How to Teach Them)
Not all keyboard repairs are created equal. Some tasks are straightforward, while others require weeks—or even months—of practice to execute reliably. Here’s where new technicians will struggle the most, ranked by difficulty:
1. Switch-Level Repairs (4–6 Weeks to Proficiency)
Replacing or modifying switches (e.g., Cherry MX, Gateron, or custom lubed switches) is where most technicians hit their first major roadblock. The challenges include:
- Desoldering and resoldering without damaging the PCB (a single misstep can fry a $100+ board).
- Aligning switches perfectly to avoid clacking or double-pressing issues.
- Handling lubrication correctly (too much = mushy keys; too little = scratchy switches).
Pro Tip: Use practice boards (available from suppliers like KBDFans or MechanicalKeyboards.com) to let technicians drill before working on customer devices. These boards cost $15–$30 each but save hundreds in ruined keyboards.
2. Stabilizer Adjustments (3–5 Weeks)
Keycap stabilizers (for larger keys like Spacebar or Shift) are notorious for rattling or wobbling. Fixing them requires:
- Precision torque adjustments (over-tightening snaps the plastic arms; under-tightening leaves play).
- Lube application (silicone vs. Krytox—technicians must know the difference).
- Diagnosing the root cause (misaligned springs, worn-out clips, or debris buildup).
Common Mistake: Technicians often replace stabilizers instead of adjusting them, adding $5–$15 in unnecessary parts costs per repair.
3. PCB-Level Diagnostics (6–8 Weeks)
When a keyboard isn’t registering keypresses, the issue could be:
- Faulty solder joints (requires a fine-tipped iron and steady hand).
- Dead traces (needs desoldering and rework).
- Failed diodes or resistors (requires basic multimeter skills).
Data Point: 30% of keyboard diagnostic tickets in 2026 shops turn out to be user error (e.g., loose cables, software conflicts), but technicians waste 20–40 minutes per ticket verifying before realizing this.
4. Custom Keycap Installation (2–3 Weeks)
While simpler than switch repairs, custom keycaps require:
- Proper alignment (misaligned caps ruin the aesthetic and functionality).
- Knowledge of profile compatibility (OEM vs. Cherry vs. SA profiles—mixing them causes wobble).
- Adhesive selection (double-sided tape vs. epoxy—each has trade-offs).
Cost Trap: Using low-quality adhesive can lead to keycaps popping off within weeks, forcing rework and damaging your shop’s reputation.
Quick Answer: How to Train a Technician on Keyboard Repairs
To get a new technician up to speed on training keyboard repair technicians, focus on three phases:
- Week 1–2: Cleaning, keycap replacements, and basic diagnostics (low risk, high volume).
- Week 3–6: Switch replacements, stabilizer tuning, and simple PCB fixes (moderate risk).
- Week 7+: Advanced soldering, custom builds, and troubleshooting rare failures (high risk, high reward).
Measure success by tracking repair time per technician, parts waste, and customer feedback on repair quality. Start with high-volume, low-complexity repairs to build confidence before assigning high-margin custom work.
What to Let Them Work On First (And What to Hold Off On)
Not all repairs are created equal in terms of training value. Your goal is to build confidence without risking customer satisfaction or high parts costs. Here’s how to phase repairs:
Phase 1: Low-Risk, High-Volume Repairs (Weeks 1–2)
These repairs teach fundamentals without exposing the shop to costly mistakes:
- Cleaning and debris removal (80% of keyboard issues are dust-related).
- Keycap replacements (OEM or generic caps—avoid custom sets early).
- Basic cable and port diagnostics (USB-C, PS/2, or Bluetooth pairing issues).
- Stabilizer lubrication (only if the tech has watched a guided tutorial).
Why This Works: These repairs take 15–30 minutes and use minimal parts ($2–$10 per job). They also give technicians repeatable processes to follow.
Phase 2: Moderate-Risk Repairs (Weeks 3–6)
Once they’re consistent with Phase 1, introduce:
- Switch replacements (start with linear switches like Cherry MX Red—easier to align than tactile or clicky).
- Stabilizer replacement (only after they’ve mastered adjustment).
- Simple PCB repairs (e.g., resoldering a loose pin, not full rework).
- Membrane keyboard repairs (cheaper to replace than mechanical boards, good for volume).
Training Tip: Pair them with a senior tech for the first 10–15 repairs. Shadowing reduces parts waste by 40% in the learning phase.
Phase 3: High-Risk, High-Reward Repairs (Weeks 7+)
These should only be attempted after consistent success with Phases 1 and 2:
- Custom keyboard builds (requires inventory of switches, PCBs, and keycaps).
- Advanced soldering (e.g., fixing dead traces on a split-flat PCB).
- Firmware flashing (e.g., QMK or Vial configurations).
- High-end mechanical keyboard repairs (e.g., Ducky, Keychron, or custom 75%+ boards).
Profit Note: Custom mechanical keyboards can double your average ticket value ($150–$300 per repair vs. $50–$100 for basic fixes). But they also require specialized parts inventory, which adds 15–20% to your carrying costs.
How to Measure Training Success (Beyond "They Seem Better")
You can’t just hope your technician improves—you need hard metrics to track progress and identify bottlenecks. Focus on these three key areas:
1. Repair Time per Technician
- Benchmark: A skilled tech should handle basic repairs in 15–25 minutes and switch replacements in 30–45 minutes.
- Red Flag: If a tech consistently takes over 60 minutes for a keycap replacement, they’re not ready for switch-level work yet.
- Tool to Use: The Quick Repairs’ repair time tracking lets you log and analyze technician performance by repair type.
2. Parts Waste Rate
- Ideal: Less than 5% of parts used in training should be wasted (e.g., ruined switches, misordered keycaps).
- Cost Impact: Wasting 10 switches per week at $3 each adds $1,560/year in unnecessary costs.
- Solution: Require pre-approval for parts use during training and conduct weekly parts audits.
3. Customer Feedback on Repair Quality
- Track: Follow up with customers after repairs to ask:
- "Are the keys registering properly?"
- "Do you notice any unusual noise or delay?"
- "Would you come back for future repairs?"
- Data Point: 68% of customers in a 2026 survey said they’d avoid a shop twice after a poor keyboard repair experience.
Pro Tip: Use post-repair surveys (via email or SMS) to catch issues before they lead to complaints. The Quick Repairs’ customer feedback tool automates this process.
Common Training Mistakes (And How to Avoid Them)
Even experienced shops make these errors when onboarding new keyboard repair technicians:
Mistake 1: Skipping the Basics
Problem: Jumping straight to switch replacements without mastering cleaning or keycap alignment leads to higher failure rates and frustrated customers.
Fix: Enforce a structured checklist for each repair phase. Example:
"Before replacing a switch, the tech must:
- Clean the keyboard thoroughly.
- Test for loose connections.
- Verify the issue isn’t software-related."
Mistake 2: Not Tracking Parts Usage
Problem: Technicians order parts without approval, leading to expired inventory or unused stock.
Fix: Implement a parts approval workflow where new techs must consult a senior member before ordering. Use The Quick Repairs’ inventory management system to set minimum stock levels for high-turnover parts.
Mistake 3: Ignoring Brand-Specific Quirks
Problem: Not all keyboards are built the same. A Razer BlackWidow has different stabilizer clips than a Logitech MX Mechanical, and a custom 60% board may require special tools.
Fix: Create a cheat sheet for common keyboard models in your shop, including:
- Switch types (e.g., "This board uses Gateron Yellows, not Cherry MX").
- Stabilizer types (e.g., "Ducky boards use 3-pin stabilizers").
- PCB layout (e.g., "Split-flat boards need careful desoldering").
Mistake 4: Overlooking Software Issues
Problem: 30% of "broken keyboard" tickets in 2026 are actually driver or firmware problems, not hardware failures.
Fix: Train technicians to rule out software first with these steps:
- Test the keyboard on a different device.
- Check for Windows/Linux driver updates.
- Verify if the issue persists in Safe Mode (eliminates third-party software conflicts).
Advanced Training: Specializing in High-Margin Repairs
Once your technician is proficient with basics, consider specializing in high-margin repairs to boost your shop’s revenue. Here’s how:
1. Custom Mechanical Keyboard Repairs
- Average Ticket Value: $150–$300 (vs. $50–$100 for basic repairs).
- Skills Needed:
- PCB soldering (for custom layouts).
- Firmware flashing (QMK, Vial, or ZMK).
- Keycap profile matching (SA, OEM, Cherry).
- Training Time: 8–12 weeks beyond basic repairs.
Reference: MechanicalKeyboards.com’s Repair Guide offers free tutorials on advanced builds.
2. Gaming Keyboard Repairs
- Top Brands: Razer, Corsair, Logitech, SteelSeries.
- Common Issues:
- RGB circuit failures (requires careful desoldering).
- Macro key reprogramming (firmware-specific).
- Wireless connectivity issues (Bluetooth pairing, dongle diagnostics).
- Profit Opportunity: Gaming keyboards have 25% higher repair volumes than office keyboards, per 2026 data.
3. Membrane Keyboard Rebuilds
- Why It’s Valuable: Many office users still rely on $30–$50 membrane keyboards, and replacements are often cheaper than repairs.
- Skills Needed:
- Membrane cleaning/replacement.
- Contact sheet replacement.
- Basic PCB testing.
- Time Investment: 2–3 weeks to train (lower than mechanical keyboards).
Next Steps: Streamline Your Repair Shop with The Quick Repairs
Training technicians is only half the battle—managing the workflow, inventory, and customer follow-ups ensures your shop runs efficiently. The Quick Repairs’ POS and repair management software helps you:
- Track technician performance with repair time analytics.
- Manage parts inventory to avoid waste and stockouts.
- Automate customer follow-ups to improve satisfaction.
- Generate reports on profitable repair types and training ROI.
If you’re ready to reduce training time, cut parts waste, and boost margins, talk to an expert about how The Quick Repairs can optimize your shop’s operations.
Reference: